
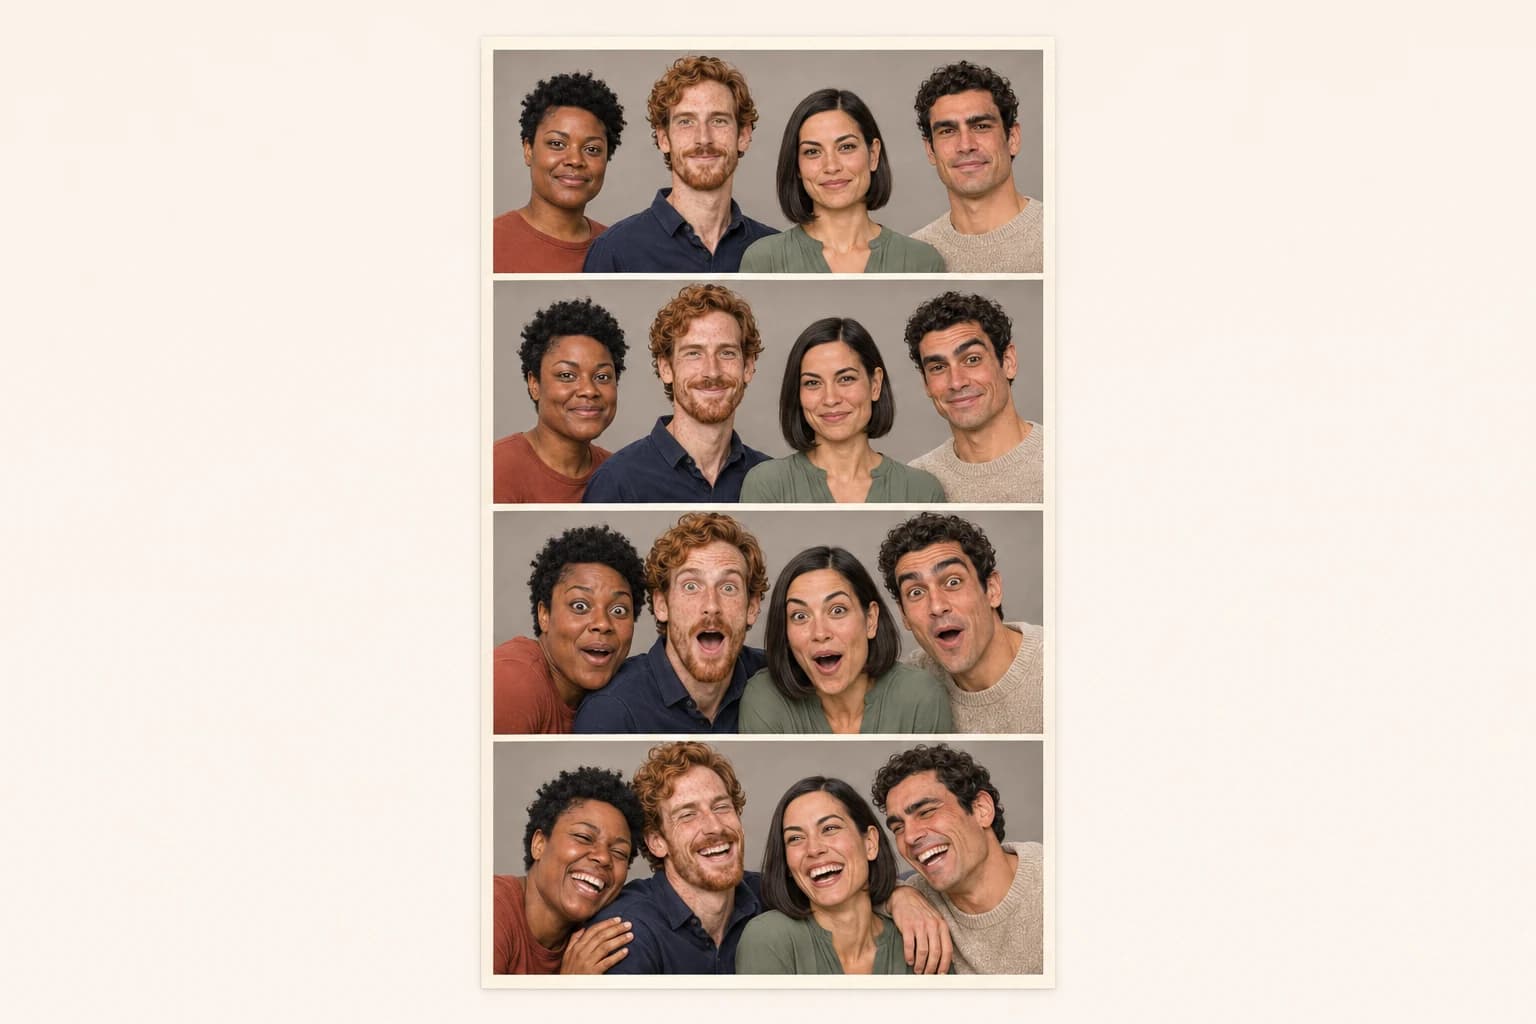

Change one thing per flash
Change one main thing with each flash: the gaze, expression, hand position or relationship between people. A four-frame photo-booth strip will feel like a sequence rather than a stack of near-duplicates. Keep the framing and group arrangement steady while that one idea develops.
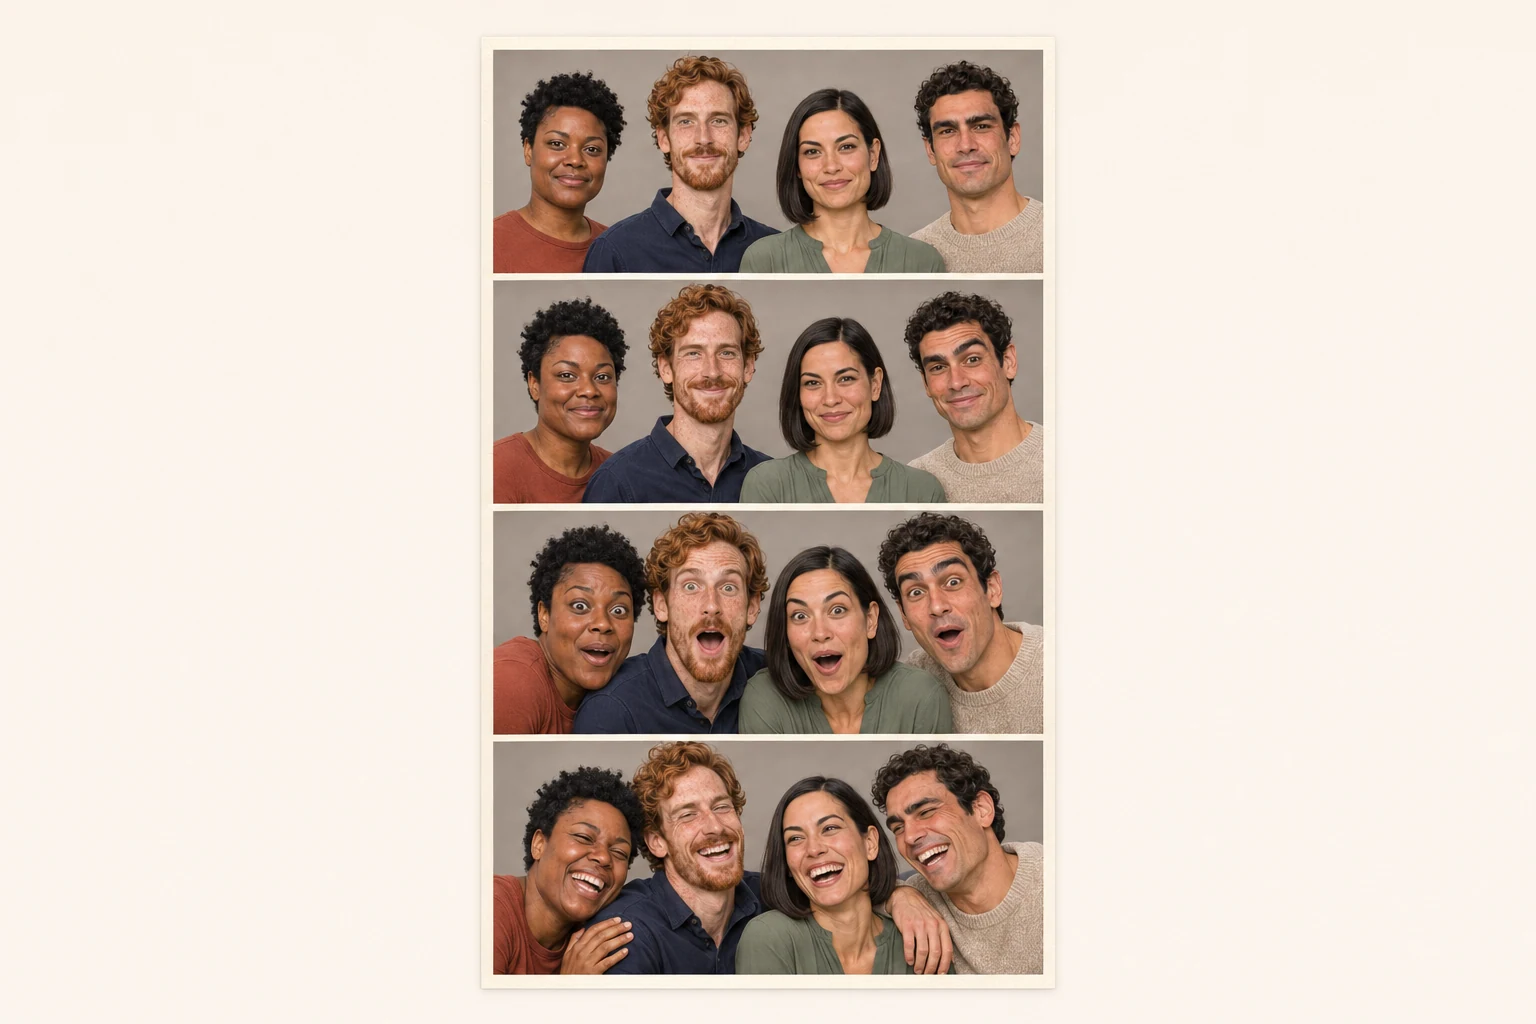
A composed opening gives the final burst of laughter somewhere to go.
That quick rhythm has long been part of the format's appeal. The Photographers' Gallery notes that photobooths were common at fairs, shopping centres and train stations in the 1950s and 1960s. Wherever the booth is now, the decision is still delightfully small: what should happen before the next flash?
Give every frame a job
Choose the last image first, then work backward. Want to finish on a laugh? Open with a restrained expression. Planning a prop reveal? Make sure the prop appears before it starts moving. Think of the four frames as setup, change, escalation and payoff.
-
Frame 1 — Setup: face forward and begin with a pose that reads at a glance.
-
Frame 2 — Change: shift one gaze, hand or expression.
-
Frame 3 — Escalation: push the change further or bring everyone closer.
-
Frame 4 — Payoff: commit to the laugh, reveal, collision or deliberately awkward finish.
Sequence 1: Calm to chaos
Start almost passport-serious. Let one smile crack in the second frame, lean toward the middle in the third, then break character together in the fourth. A quiet opening makes the last shot feel bigger, and nobody has to invent four unrelated poses.
For a larger group, pick one person to call each change with a quick cue: "closer," "surprised" or "laugh." It is much easier to follow than handing out separate poses once the strip is underway.
Sequence 2: Look away, meet, laugh
Begin with both people looking beyond opposite edges of the frame. One turns, the other notices, and the final shot catches their shared reaction. Keep your shoulders in roughly the same place so the shifting eye line is easy to follow.
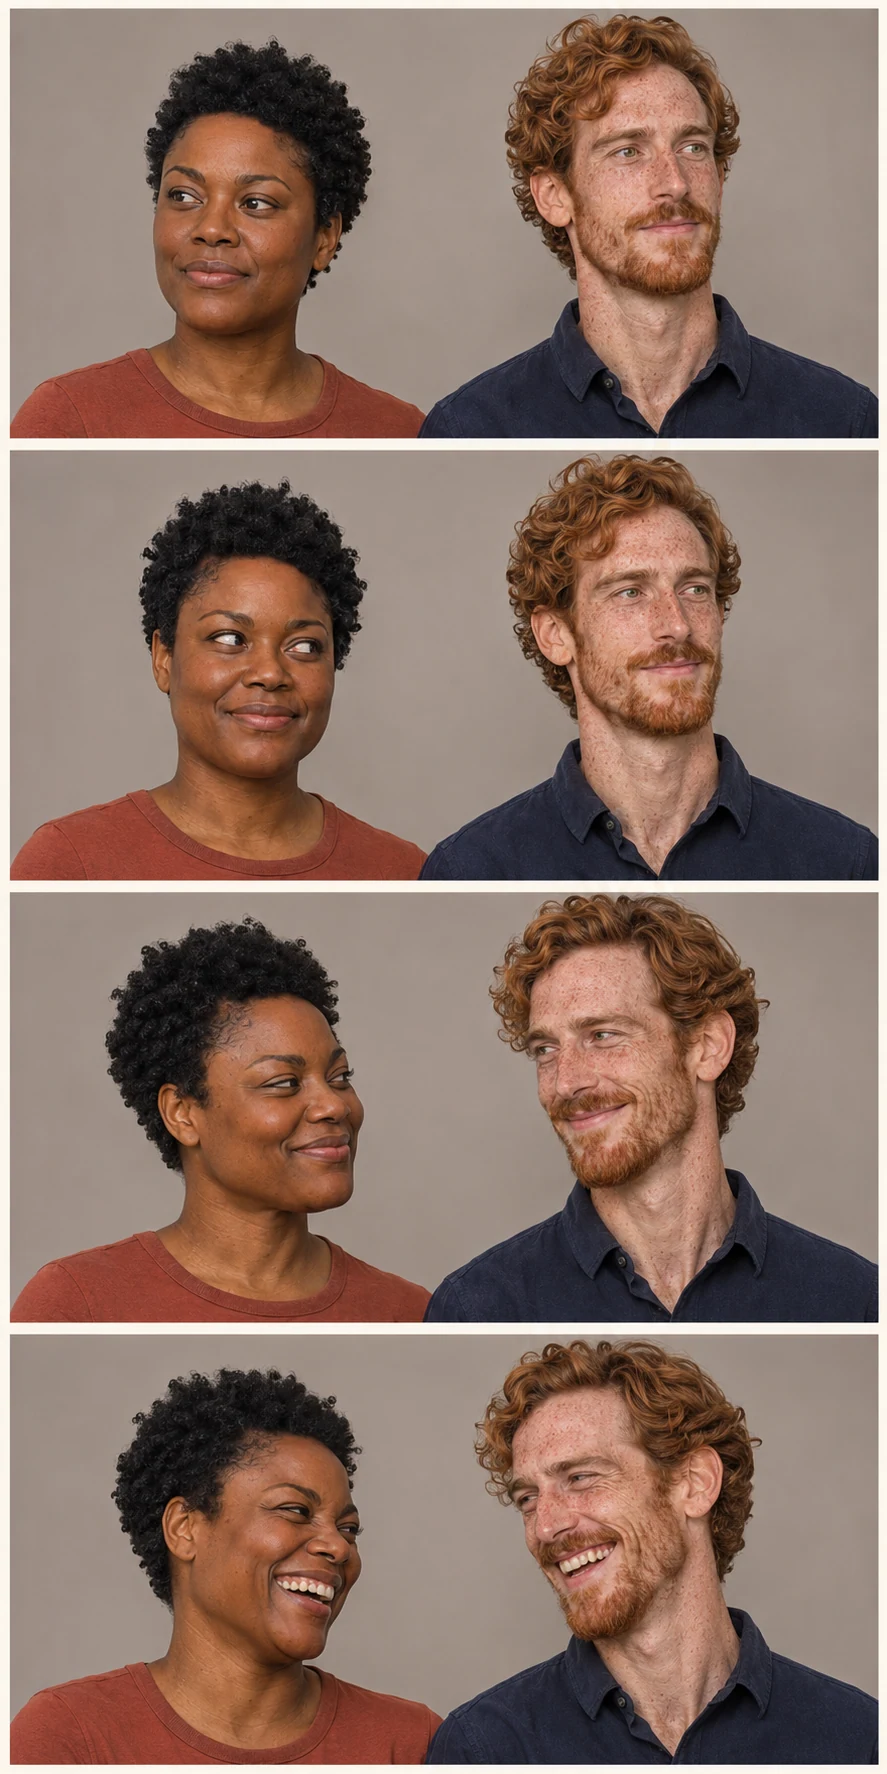
Opposite gazes converge into a shared final-frame laugh.
This brings warmth to the sequence without falling back on four standard smiles. For more ways to give the pair a shared look, explore the best-friend photoshoot ideas through the decades.
Sequence 3: Mirror, mirror, mismatch
Choose movements that stay clear in a tight crop: matching head tilts, crossed arms, a raised hand or synchronized side-eye. Repeat the symmetry for two frames. At the end, let one person break it. That small mismatch is the joke.

Repeated symmetry makes the small final-frame rebellion land.
Skip any movement that hides one face behind another. Both silhouettes should remain visible, and the final difference should make sense at a glance.
Sequence 4: Pass one prop through the strip
Pick one obvious prop instead of a jumble of little accessories. Oversized sunglasses, a flower, a hat or a folded note can move from person to person. Plan the route before the first flash so nobody reaches the wrong way.
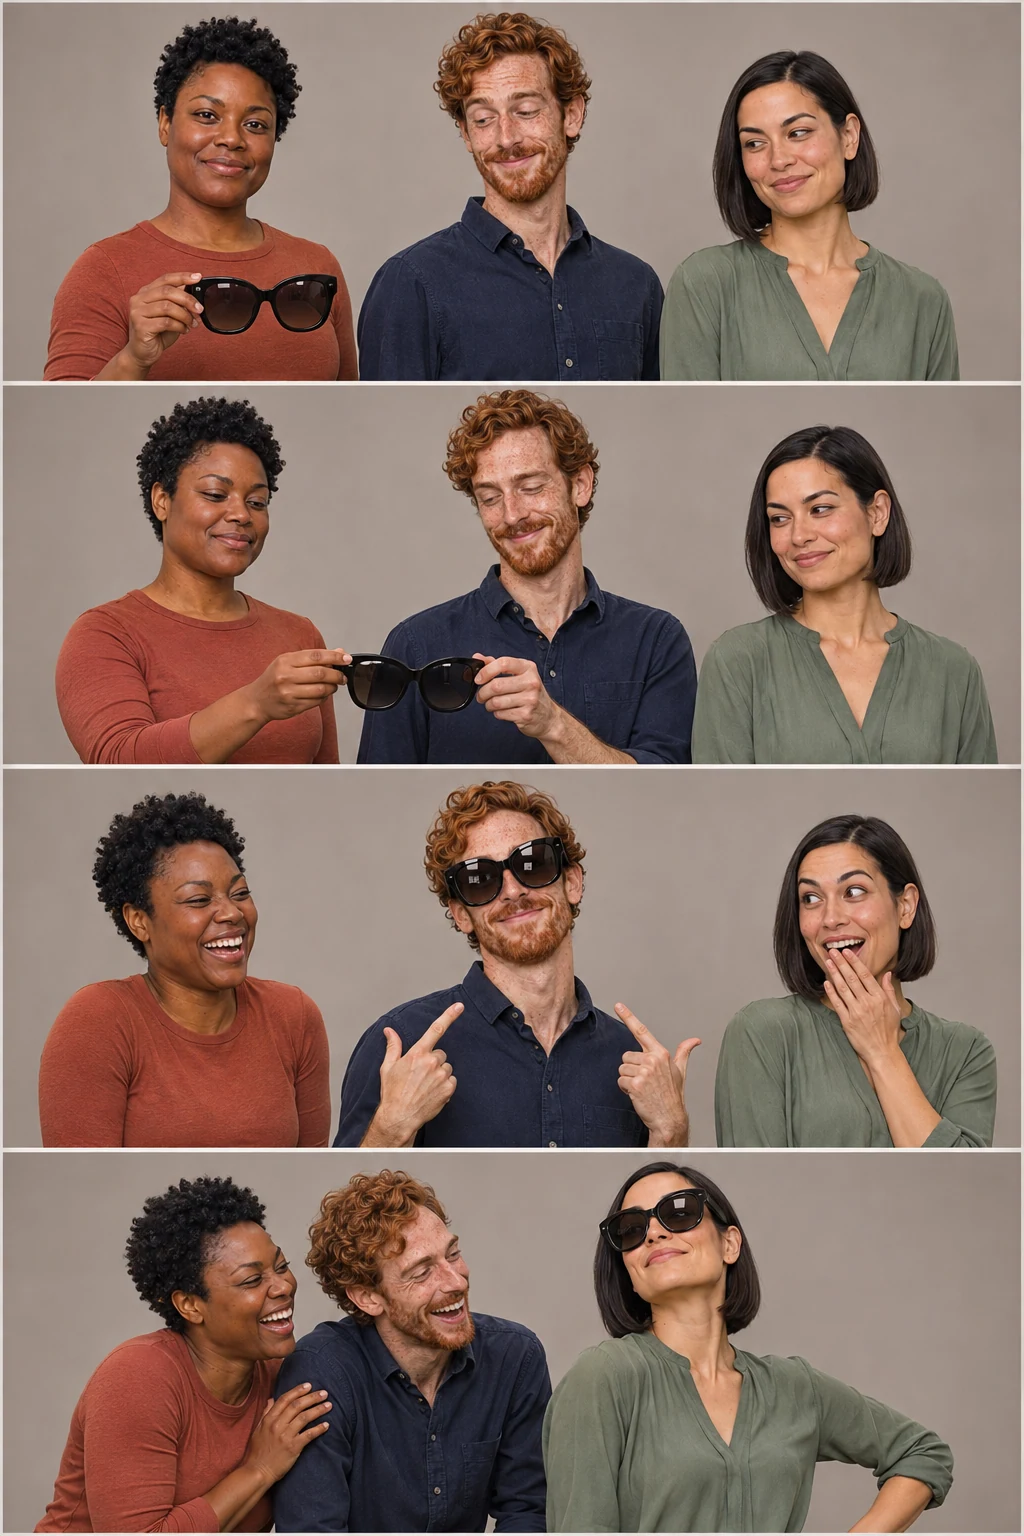
One traveling prop gives every frame a new centre of attention.
At a reception, the last person could crown the couple, point a flower back toward its owner or turn the prop into a playful reveal. The retro wedding photoshoot ideas have more ways to connect the booth strip with the rest of the celebration.
Sequence 5: Hold the pose and switch eras
For a planned editorial or a strip assembled digitally, keep the group in place while each frame moves into a different decade. The repeated posture makes changes in hair, clothing, lighting and photographic character much easier to see.
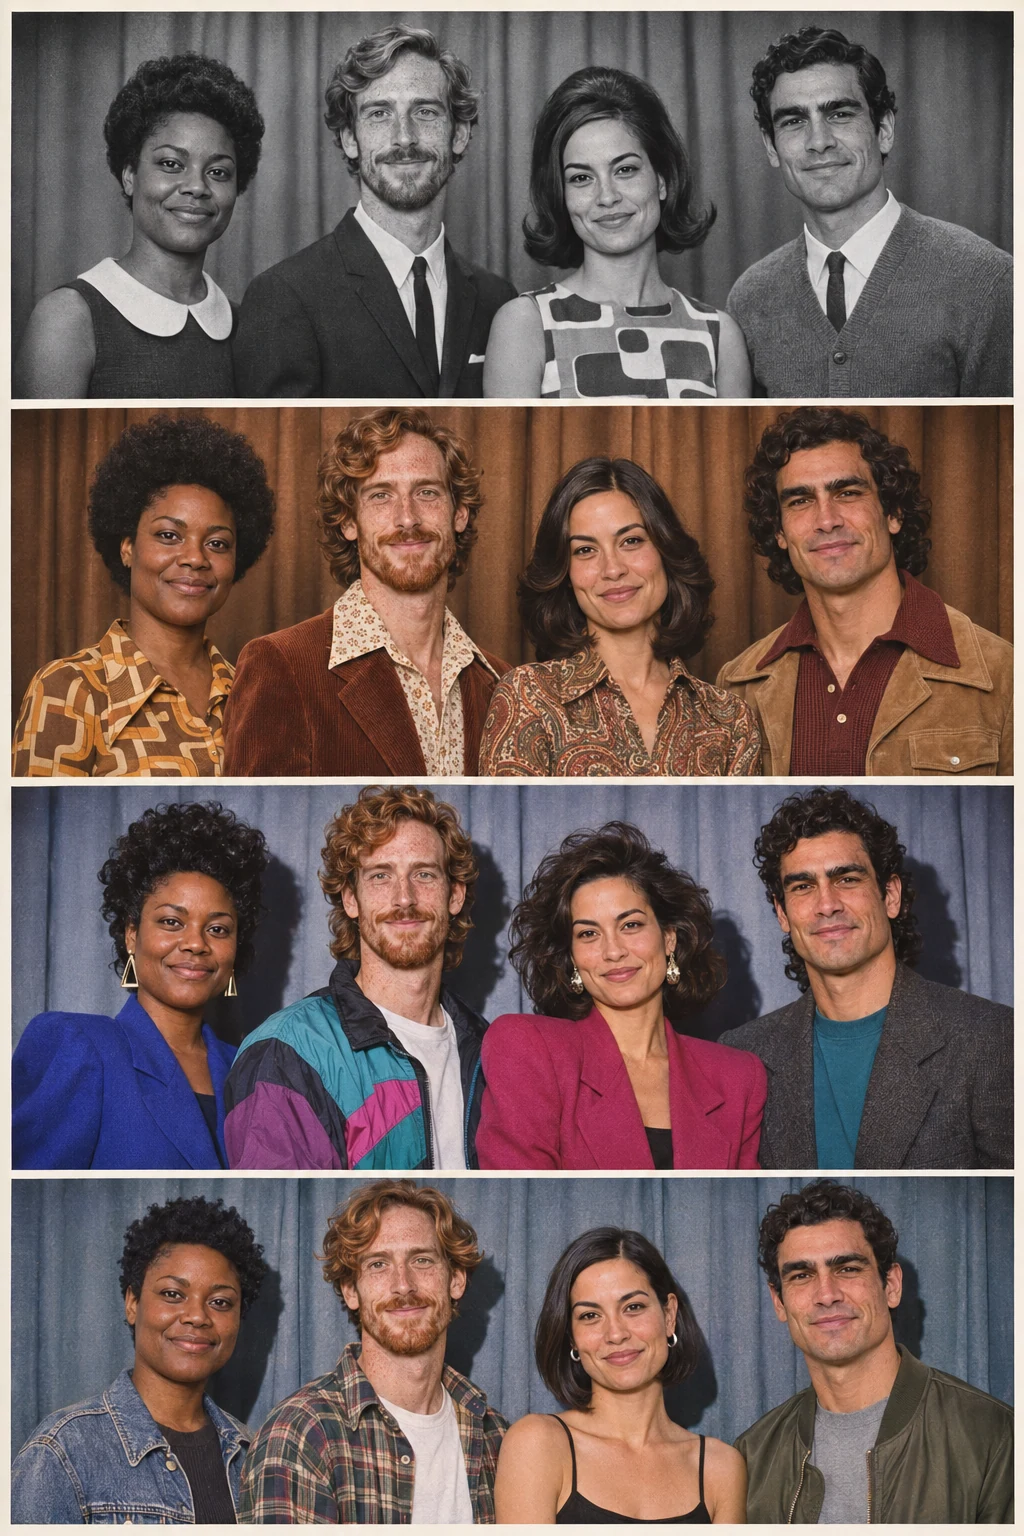
A steady group pose lets changing decade cues carry the sequence.
A fast physical booth needs a simpler version. Pick one era for the whole session and swap a single removable accessory between flashes. Trying to pull off a complete costume change during the countdown is asking for trouble.
Sequence 6: Give a solo strip a tiny plot
A solo strip can still have some interaction when the subject reacts to an object. Notice it, inspect it, discover something, then finish with a clear response. The object connects the frames while the face carries the story.
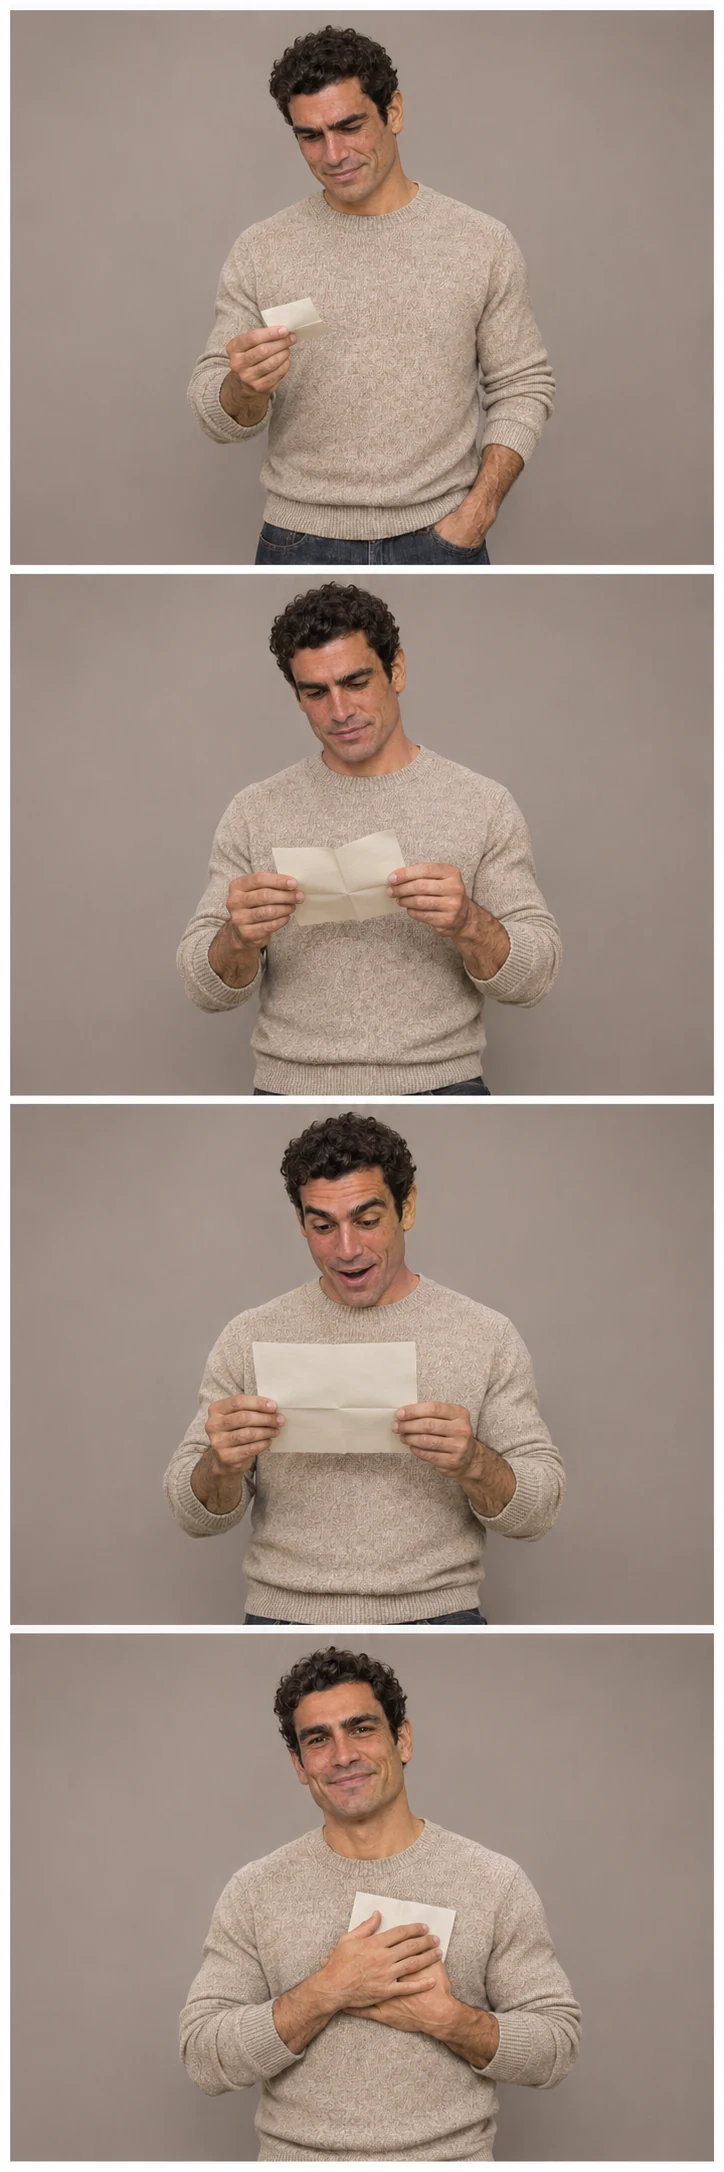
A simple discovery gives a solo strip a beginning, turn and payoff.
No prop? React to an imagined sound outside the frame instead. Hear it, look for it, spot it and respond. Keep looking toward the same point so the sequence holds together.
Adapt the sequence for friends and family
With three or more people, keep individual instructions simple and change the space between them instead. Start spread out, close the gaps, lean toward one chosen person, then end in a compact pile-in. Put shorter people toward the front so their faces do not vanish when everyone squeezes together.
A family could give one frame to each generation or let a child choose the final expression. For ideas beyond the booth, including wardrobe, settings and group arrangements, continue with the vintage family photoshoot ideas.
Make the last frame worth keeping
Before the countdown starts, agree on what will stay still, what will change and how the strip should end. That is enough planning. Leave room for missed cues and imperfect reactions. Sometimes the plan wobbling is exactly what makes the last frame worth keeping.
Sources
- The Photographers’ Gallery: 100 Years of the Photobooth
The photo-booth strips in this article are editorial AI inspiration featuring fictional people, not archival photography or actual Throwback output.